Elementor

A/B testing for pages built with Elementor Pro

Optibase connects to Elementor Pro through its native attributes panel. Add test attributes to any widget or section, set a conversion goal, and start testing — no code, no flicker, no developer required.
Works with Elementor Pro: Uses Elementor's Advanced → Attributes panel to connect elements.
Test any widget or section: Buttons, headlines, images, CTAs, full layout sections.
No Flickering: The right variant loads immediately on every visit.
Header image
Join 3000+ companies already testing with Optibase
Native Elementor integration

Add test attributes directly in Elementor Pro

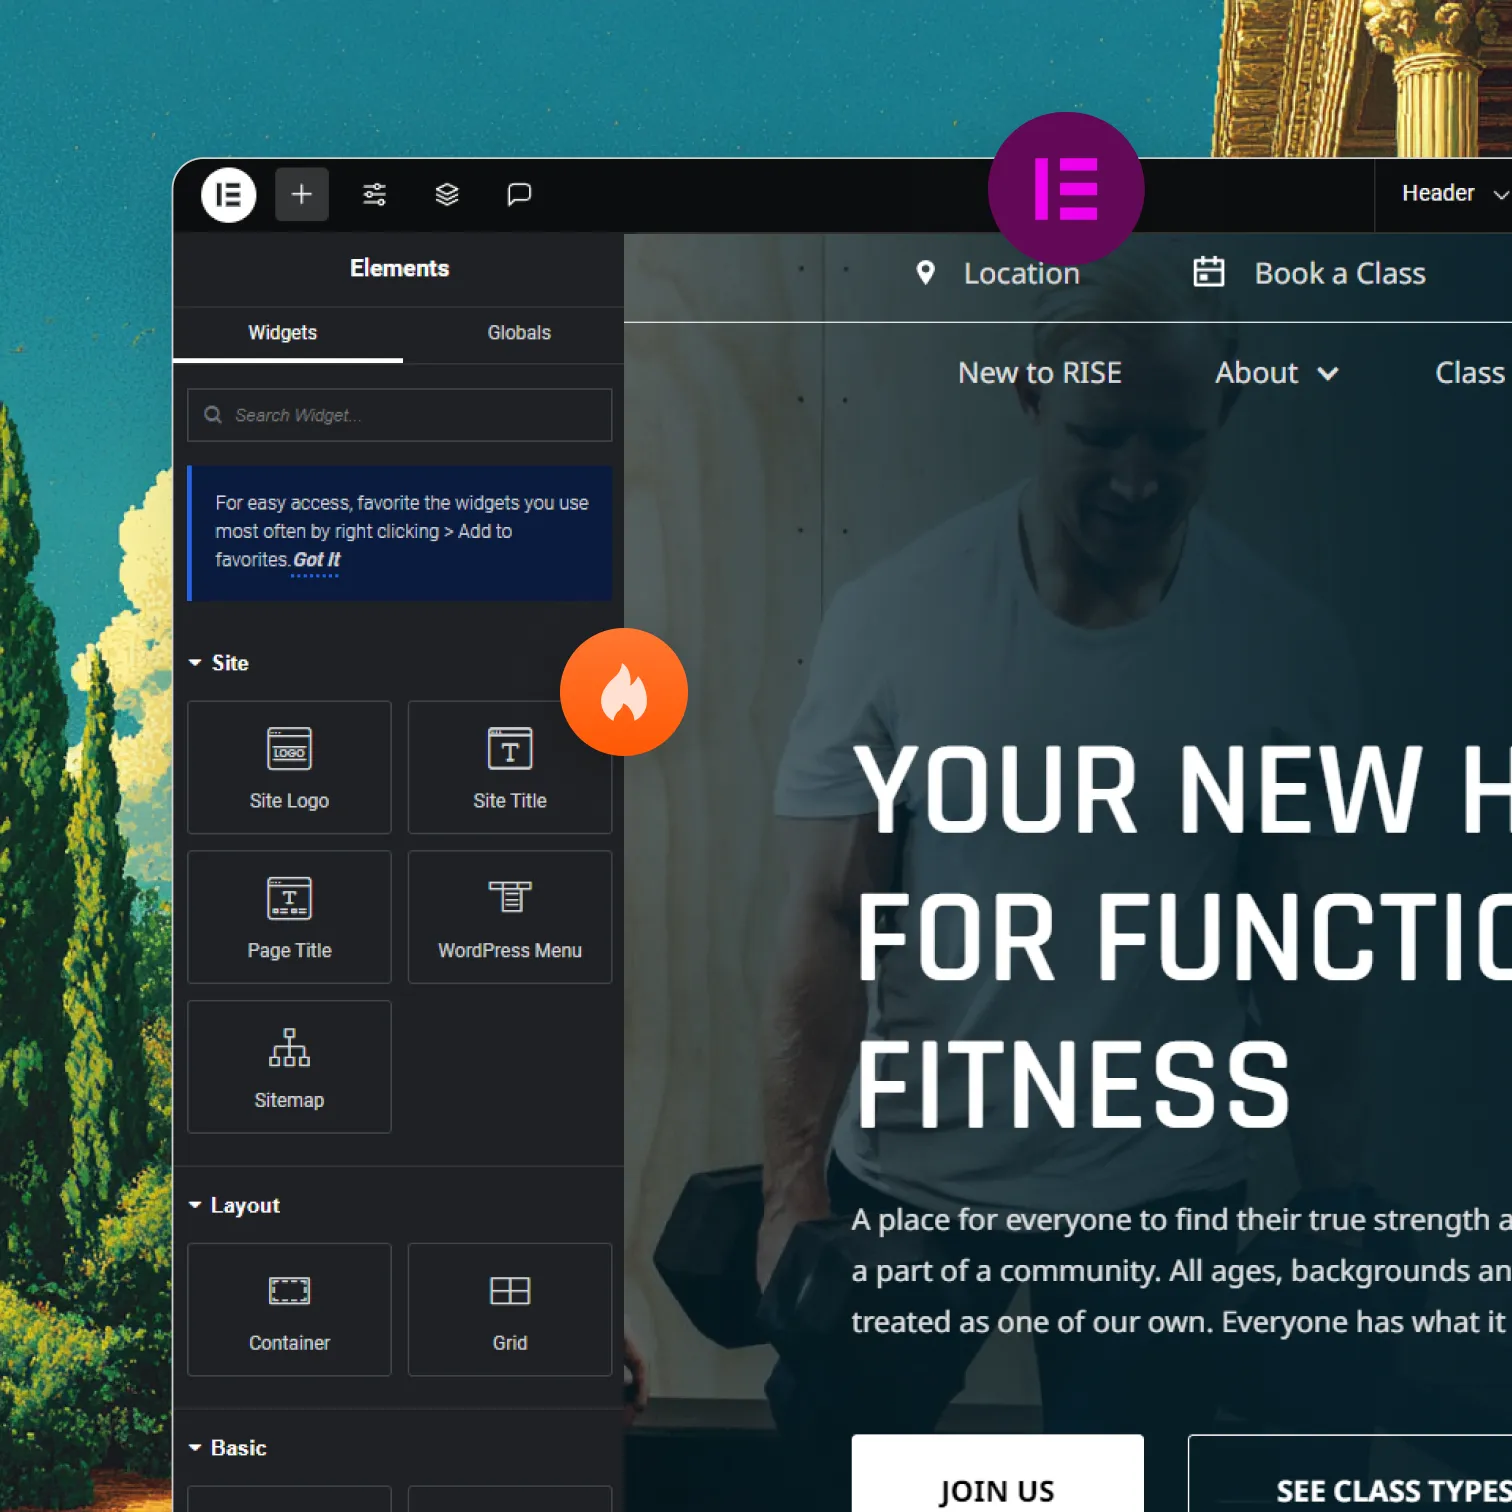
Elementor Pro's Advanced → Attributes panel lets you connect elements to Optibase without writing code. One important note: Elementor uses pipe syntax for attributes — key|value instead of the standard key="value". Add your test ID, variant ID, and conversion ID to each element using this format and your test is ready to launch.

Native attribute panel

Go to Advanced → Attributes on any widget or section in Elementor. Add your Optibase attributes using the pipe syntax (test-id|abc123) and publish.

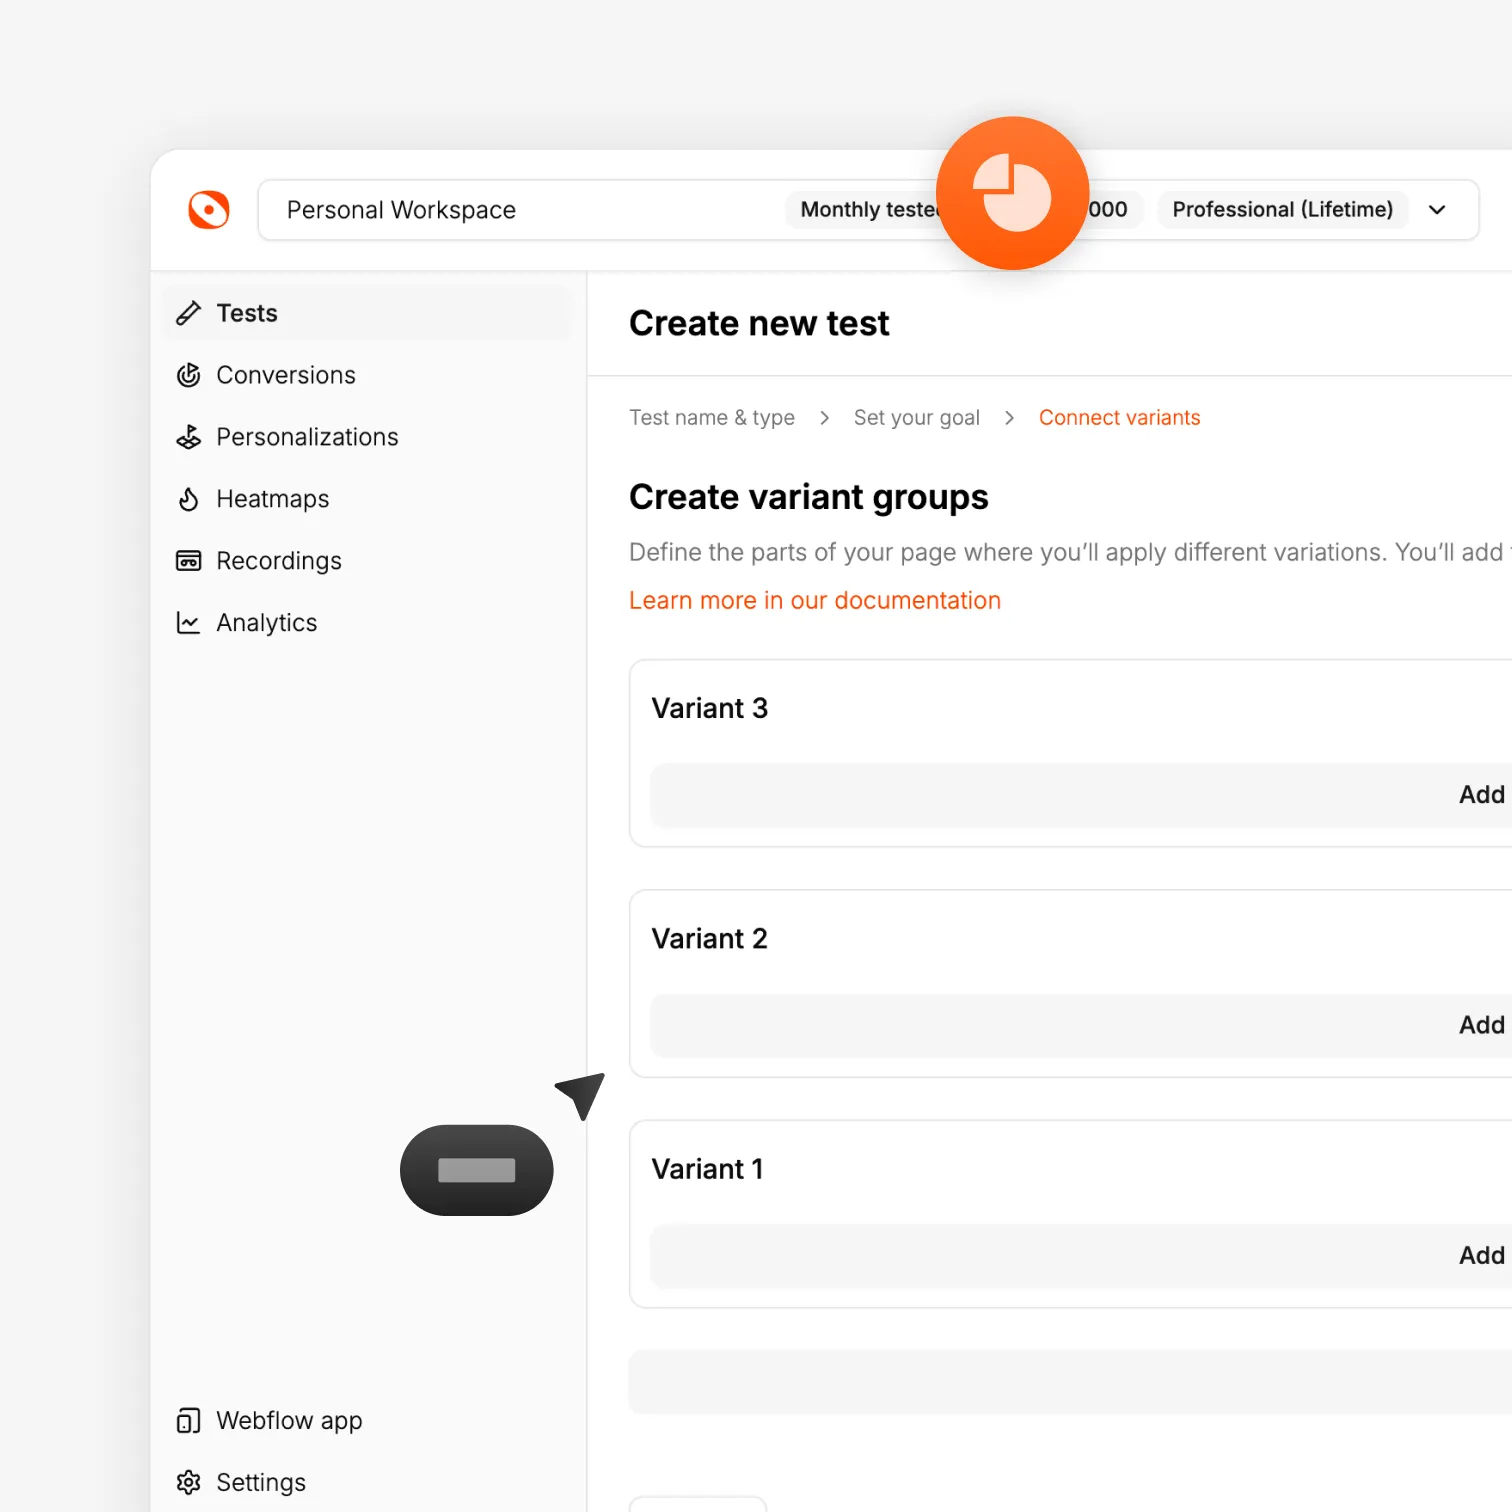
Test widgets and full sections

Tag individual widgets like buttons for click tracking, or tag entire container sections to compare full layout variants against each other.

Theme Builder compatible

Optibase works with pages built using the Elementor Theme Builder, including single post templates, archive pages, and dynamic templates.
Performance

Testing that does not slow Elementor sites down

Elementor sites can be performance-sensitive. Optibase adds no meaningful overhead. The script loads asynchronously, delivers variants on the first render without flicker, and leaves your Core Web Vitals untouched.

Flicker free delivery

Visitors see their assigned variant immediately. No flash of the original, no layout shift, no disruption.

Asynchronous loading

The Optibase script does not block your Elementor page from rendering. It runs in parallel — invisible to your visitors.

Safe for rankings

Google sees one clean, stable version of your page throughout every test. No SEO risk.
Optibase A/B test results dashboard with conversion data and charts
How it works

From install to live Elementor test in under 15 minutes

Install the plugin, add Optibase attributes to your elements, set a conversion goal, and launch your test in minutes.

Download and install the plugin

Download the plugin ZIP from the Optibase download page. In WordPress, go to Plugins → Add New Plugin → Upload Plugin, upload the file, and activate it.

Add your API key

In your Optibase workspace, copy your Public API Key from Settings. Paste it into the Optibase plugin settings in WordPress and save.

Add Optibase attributes in Elementor

Open your page in Elementor Pro. Go to Advanced → Attributes on the element or section you want to test. Add the Optibase test ID, variant ID, and conversion ID using pipe syntax (e.g. data-optibase-test-id|your-test-id).

Launch and read results

Activate the test in the Optibase dashboard. Watch live results update. Ship the winning version.
Tutorial

A/B testing with Elementor Pro

See how to install the plugin, add Optibase attributes in Elementor, set a conversion goal, and launch a live test.
FAQ

Frequently asked questions

Does Optibase require Elementor Pro or does it work with the free version?
Optibase requires Elementor Pro. The custom attributes panel used to connect elements to Optibase is a Pro feature. If you are on Elementor Free, the attributes panel is not available.
What is the pipe syntax Elementor uses for attributes?
Instead of the standard HTML format key="value", Elementor's attribute panel uses a pipe: key|value. So you would enter data-optibase-test-id|your-test-id rather than the standard HTML format. This is Elementor's own formatting — not something Optibase changes.
Will it slow down my Elementor site?
No. The Optibase script loads asynchronously and does not block page rendering. Core Web Vitals are not affected.
How do I install Optibase on an Elementor site?
Download the plugin ZIP from the Optibase download page. In WordPress, upload it under Plugins → Add New Plugin. Activate the plugin, then add your Public API Key from your Optibase workspace settings.
Can I test full page sections, not just individual widgets?
Yes. Add the test and variant ID attributes at the container/section level, and put the conversion attribute on the specific element you are tracking (e.g. the button inside the section).